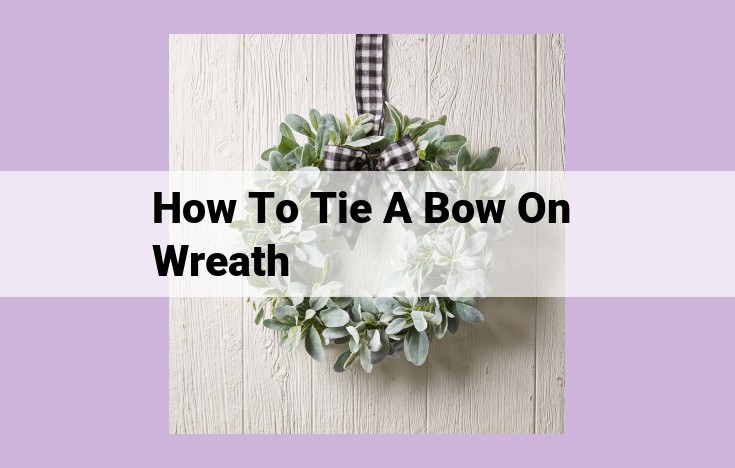
How To Create A Stunning Bow On A Wreath [Step-By-Step Guide]
To create a beautiful bow on a wreath, follow these steps:
- Choose a suitable ribbon and wreath for your project.
- Use sharp scissors to cut the ribbon to the desired length.
- Tie the ends of the ribbon together using a square knot or granny knot.
- Shape the ribbon into a bow by pulling the center loops outward and tightening the knot.
- Secure the bow to the wreath with a wire or floral pin.
- Enhance the bow by adding greenery or ornaments for a festive touch.
Essential Elements for Crafting the Perfect Wreath
When embarking on the delightful journey of wreath-making, it’s imperative to gather the essential elements that will lay the groundwork for your stunning creation. The humble wreath serves as the sturdy foundation upon which your festive adornments will dance. Choose a wreath base that complements your desired style, whether it’s a natural grapevine, a rustic twig wreath, or an elegant metal frame.
The other indispensable element is ribbon. It’s the colorful thread that weaves together the elements of your wreath, adding a touch of whimsy and sophistication. From silky satin to festive velvet and shimmering organza, the tapestry of ribbons available is vast. Consider the width, texture, and color of the ribbon to harmonize with your wreath’s overall design. A wide ribbon can make a bold statement, while a narrow one adds a delicate touch. The texture can provide visual interest, and the color should enhance the wreath’s theme.
Essential Tools: Precision Scissors for Wreath-Making Magic
In the realm of wreath-making, a humble pair of scissors takes center stage as an indispensable tool. Their sharp edges wield the power to transform ribbons, greenery, and ornaments into a captivating tapestry of festive delight.
Choosing the right pair of scissors will enhance your wreath-making experience tenfold. Look for scissors with:
- Sharp blades: Blunt scissors will shred materials, leaving unsightly edges and ruining your wreath’s aesthetic appeal.
- Ergonomic handles: Comfortable grips will prevent hand strain during extended crafting sessions.
- Appropriate blade length: Scissors too short can hinder precision, while ones too long can become unwieldy.
When using your scissors, remember:
- Keep blades clean and sharp. A dull blade will require more force, tiring your hand and compromising accuracy.
- Use the right size for the task. Smaller scissors are more precise, while larger ones are better for trimming thicker materials.
- Cut at a 45-degree angle to minimize fraying and create a secure hold for ribbons and greenery.
- Snip, don’t slice. Jerky sawing motions can damage the blades and create uneven edges.
With a sharp pair of scissors in hand, you’ll have the perfect tool to weave your wreath-making magic, transforming ordinary materials into a masterpiece that will adorn your door or wall with festive flair.
Essential Knots for Festive Wreath-Making
When crafting a festive wreath, mastering the art of knot-tying is crucial for securing ornaments, greenery, and ribbons. Here are five essential knots that will transform your wreath from a simple adornment to a masterpiece:
Bowline Knot: The Anchor for Your Adornments
The bowline knot is an anchor knot commonly used to attach ornaments, greenery, or other embellishments to your wreath. It creates a secure, adjustable loop that can withstand the test of time. To master this knot, follow these steps:
- Form a small loop in the end of the cord or ribbon.
- Pass the working end through the loop from the back.
- Bring the working end around the standing end and through the loop again.
- Tighten the knot by pulling both ends simultaneously.
Surgeon’s Knot: The Unwavering Bond for Ribbons and Wires
The surgeon’s knot is the secret to securely fastening ribbons or wires on your wreath. It is particularly useful for attaching heavy ornaments or creating intricate designs. Here’s how to tie it:
- Make a simple overhand knot.
- Pass the working end under and around the standing end, forming an additional loop.
- Bring the working end through the first loop again.
- Tighten the knot by pulling both ends.
Slip Knot: The Adjustable Ace for Loops and Ornaments
The slip knot is a versatile knot that allows you to create adjustable loops or attach ornaments with ease. Its simple design makes it ideal for suspending delicate decorations or creating elegant accents:
- Form a small loop in the end of the cord or ribbon.
- Pass the working end through the loop.
- Bring the working end around the back of the standing end and through the loop again.
- Slip the knot around the wreath or ornament.
Square Knot (AKA Reef Knot): The Workhorse of Wreath-Tying
The square knot (also known as the reef knot) is the most common knot used in wreath-making to tie ribbons or cords. It is a secure and reliable knot that can be applied in various situations:
- Cross the two ends of the cord or ribbon over each other, forming an ‘X’.
- Bring the left-hand end over the right and through the loop formed by the right-hand end.
- Bring the right-hand end over the left and through the loop formed by the left-hand end.
- Tighten the knot by pulling both ends simultaneously.
Granny Knot: The Simple Alternative
The granny knot is a simpler variation of the square knot, offering a quick and easy way to tie ribbons or cords. However, it is slightly less secure than the square knot:
- Cross the two ends of the cord or ribbon over each other, forming an ‘X’.
- Bring the left-hand end over the right.
- Bring the right-hand end over the left.
- Tighten the knot by pulling both ends simultaneously.
By mastering these essential knots, you will elevate your wreath-making skills and create stunning creations that will grace your home with festive cheer for seasons to come.
